Time for a break
Not necessarily a break from weaving, but a change of tempo.
Time for a rest from whatu and to get my head and hands into a different rhythm for a little raranga.
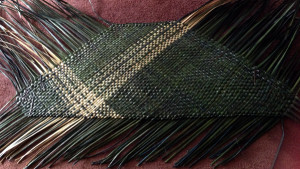
It feels like it has been a long time between kete and the wavy lines make it obvious that it has been. Luckily I was able to straighten things out somewhat and by the time I joined the sides up it was looking much better
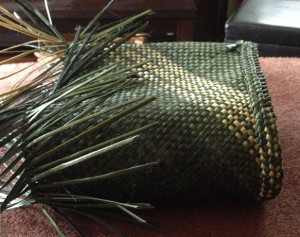
This photo shows the flat woven body of the kete where I have done the tāpiki top and bottom to hold it all together before joining the sides.
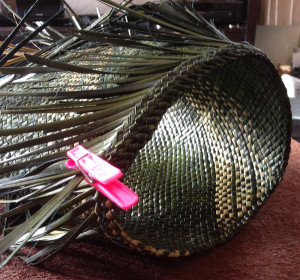
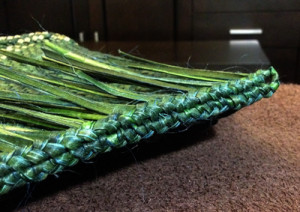
Here I have joined it all together to form a cylinder, completed the tāpiki aroung the top of the kete and begun the whiri to finish off that part.
The whiri gives added strength to the top and will be on the inside of the completed kete.
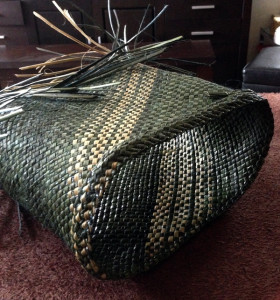
As you can see here, the work is inside out at this stage.
The next step is to close the bottom of the kete. Choosing where to start can be a challenge. Sometimes it is determined by the pattern you have chosen to weave. The aim usually, is to select a place that will give the best results for a nice straight top edge.
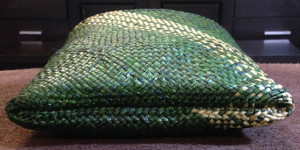
This view shows the bottom after the whiri has been completed.
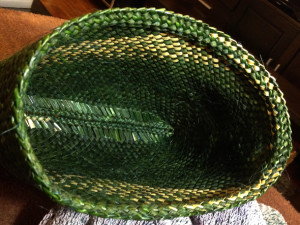
The excess harakeke is trimmed and the kete is then turned inside out so the whiri are now on the inside.
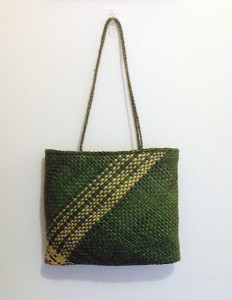
Muka handles added and smile of satisfaction produced.
Leave a Reply