My first Korowai
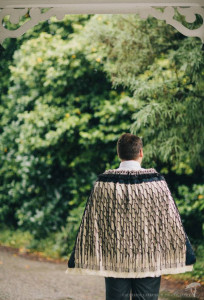
I love the photo of the korowai. It was taken of my oldest son on his wedding day.
It took me a year, from harvesting the harakeke, to completing the weaving.
During that year I got to spend some very special time with a wonderful group of weavers. We were privileged, during our classes with Veranoa Hetet, to look closely at kakahu woven by members her whanau. Being allowed to touch the taonga woven by her mother and grandmother was inspirational.
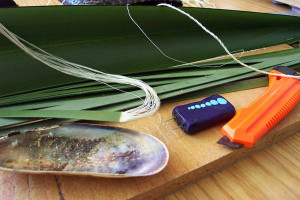
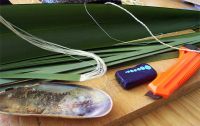
The tools required to make this garment are simple.
After harvesting the the harakeke, the first step is to haro, extracting the fibres from the green flax using the mussel shell. Then it’s time to miro, wash and hang to dry in the sun.
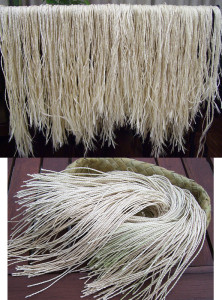
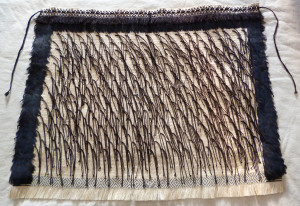
This photo shows the hundreds of prepared whenu.
Also shown are the hukahuka, tassels, before they were dyed black.
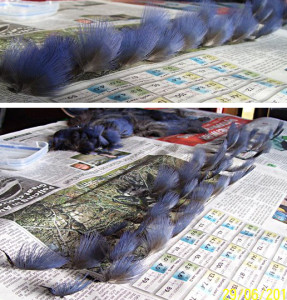
Then there were the feathers to prepare.
I lost count of the number of pukeko pelts I used to get enough blue feathers.
Because the feathers are so fine, each bundle has three feathers in it.
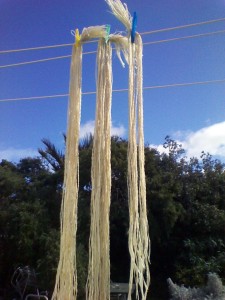
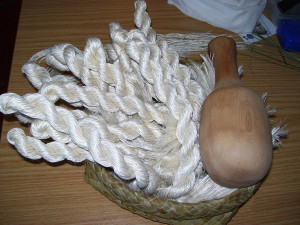
The twisted whiri whenu here, are waiting for me to use the patu muka made for me by one of my sons.
First they are saturated and then the patu muka is used to beat out the water.
The next stage was to kormuri each whiri to soften the muka
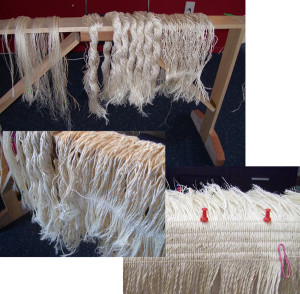
The extra fine muka hanging on the weaving frame are the thousand plus aho used to whatu the whenu together.
Whenu = verticle warp
Aho = horizontal weft
Whatu = weave
There is nothing quite like the silky texture of muka when it has been through the necessary steps and it is ready to weave. It is beautiful and a lovely soothing sensation when you caress the whenu as you cast on that first row.
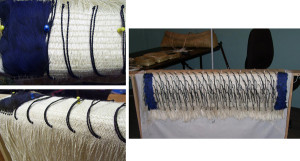
I found it very exciting to get to the stage of adding in the hukahuka. It seemed to take forever. The progress photo of the cloak on the weaving frame was taken at Te Papa as our group were part of the weavers working in the studio during the Kahu Ora – Living Cloaks exhibition.
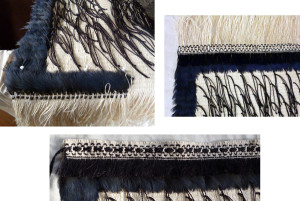
I finished off the top and made a simple cord of muka dyed black, to thread through the top as a drawstring.
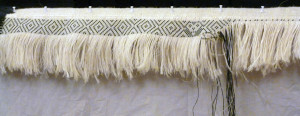
At this stage I still had not decided how I was going to finish the bottom. I knew I wanted to do a taniko border but what pattern to use eluded me.
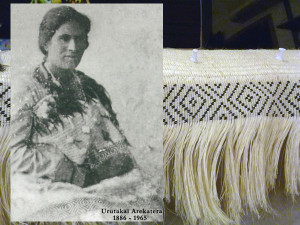
I tried to remember old family photos with cloaks in them and I knew there was one of Mum’s Grandmother, Kuia Ani, with a Kahu Kiwi, but you can’t see any taniko pattern. The only other I could remember was of Mum’s Aunt and this is the one I took for my inspiration.
I did add a little twist of my own by adding an owl in the center.
To honour my Mother, who was known to all as Peace, I named my first kakau made in the traditional way using traditional materials.
Leave a Reply